Often I have (small) pieces of software in Azure. This can be for testing of for real production situation. When you write you code, everything can work perfectly locally and you get strange errors when deployed to Azure. A handy tool is remote debugging where you can connect your Visual Studio Environment to your Azure app.
In this post I will explain how the Remote debugging is setup and what happens under water when you normally just click on “Attach Debugger” in the “Cloud Explorer” of Visual Studio (2017). The sample project is a .NET Core 2.1 Azure Function App.
Enable Remote Debugging
Before we start a debugging session to our Azure Function app we need to enable the functionality.
- Navigate in the Azure portal to your function app
- Go to the “Application settings”
- Under “Debugging” set Remote Debugging to On and set
Remote Visual Studio version to 2017.
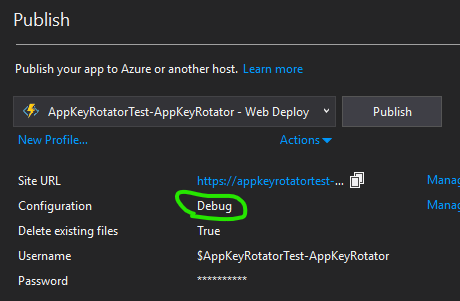
Publish Debug version of application
A Debug version of you application is needed in Azure to connect the breakpoints. Set the “Configuration” in Visual Studio to Debug and publish your application to your function app.
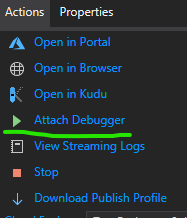
Attach debugger to Function App
In the Cloud Explorer in Visual Studio you can navigate to your Function App and select Attach Debugger.
Many times, this won’t work or you get an error. In example:
The breakpoint will not currently be hit. No symbols have been loaded for this document
You can work around this by attaching the debugger manually in Visual Studio. Follow these steps:
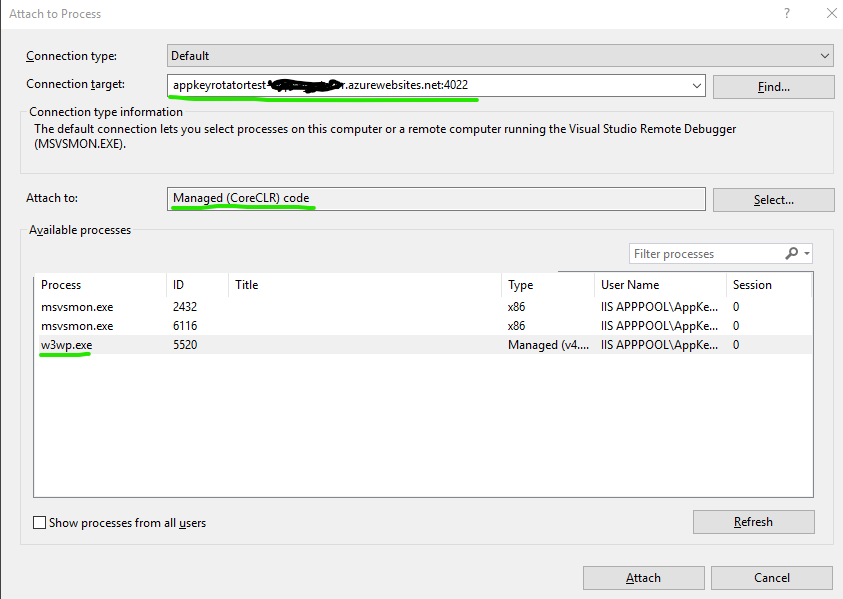
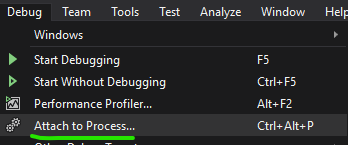
- Go to the Debug menu and select Attach to Process…
- Enter the url + port number of your function app in the Connection target field like this: appkeyrotatortest.azurewebsites.net:4022
- You can find the right port number in this document. In my example it is the port number for Visual Studio 2017. For 2019 it is 4024.
- When prompt to authenticate, you can do this with the publish profile of your Function App. Download the publish profile by hitting the Get publish profile button in the Azure portal. Use the userName and userPWD of the publish profile.
- Because it is a .NET Core application, we need to set Attach to to Managed (CoreCLR) code. You can do this with the select button. This isn’t done automatically because of an issue.
- Last thing is to select the w3wp.exe process and hit Attach.
- Let Visual Studio download all the files needed en you can debug your application as if you’re working locally.