This post is about Unit testing with xUnit in .NET Core. The last few weeks I was working on a new project in .NET Core. What I didn’t expected was that so many features weren’t documented or very bad documented. Many articles of Microsoft explained a different solution for the same result. I understand the framework is changing but the documentation should be changing as well then.
So I started unit testing with xUnit. I like the framework a lot so I hoped everything was working in the latest version of .NET Core. What I wanted to achieve was to create of course unit tests but also good integration in Visual Studio and TFS. That was not so easy as I hoped for. It took me a lot of searching and combining of solution to get everything working. Just because of the poor documentation. If you see the result to get this to work then it looks to easy.
First, which version of all the tools and Frameworks did I use:
- Visual Studio 2017 Enterprise 15.2 (26430.12)
- ReSharper 2017.1.2
- dotnet version 1.0.4 (dotnet –version in command prompt)
- Team Foundation Server 2017 Update 1
When I used the xUnit Nuget package I got with little effort the tests working in Visual Studio. But I wanted more. Because I’m CI/CD engineer, I wanted some automated builds in Team Foundation Server. So I created a new CI build for my project. I couldn’t get everything to work with the tasks that where in TFS so I used the command prompt task. I found this post from xUnit for testing in .NET Core that got me pointing in the right direction.
I installed the following Nuget packages in my project:
<ItemGroup>
  <PackageReference Include="Microsoft.NET.Test.Sdk" Version="15.0.0" />
  <PackageReference Include="xunit" Version="2.3.0-beta2-build3683" />
  <PackageReference Include="xunit.runner.visualstudio" Version="2.2.0" />
  <DotNetCliToolReference Include="dotnet-xunit" Version="2.3.0-beta2-build3683" />
</ItemGroup>
This gave me access to the new xunit CLI. I also installed the VS runner package so you could also run the unittests with the “Test Explorer” window in Visual Studio.
Now I could finish my CI Build definition. I removed all the tasks because in every combination that I tried I couldn’t get a part to work. I still wanted, to build the project, run the test, see the results back in Visual Studio and in TFS. As a bonus I wanted to see the Code Coverage of the tests in TFS as well.
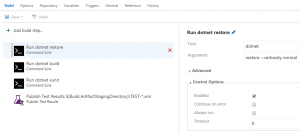
First restore all external dependencies:
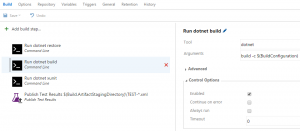
Then build the project:
Run the tests:

The trick is to use the right configuration and to export the result to an xml file. Place that file in the “$(Build.ArtifactStagingDirectory)” so we can use it in the next step. We already build the solution so add the “-nobuild” option.
Upload the test results:
The Code Coverage was not possible because that is still under development by Microsoft for the .NET Core framework. In the next version of Visual Studio will this be possible. You can already test it in the Visual Studio 2017 15.3 preview version. See this thread on Github for more information.
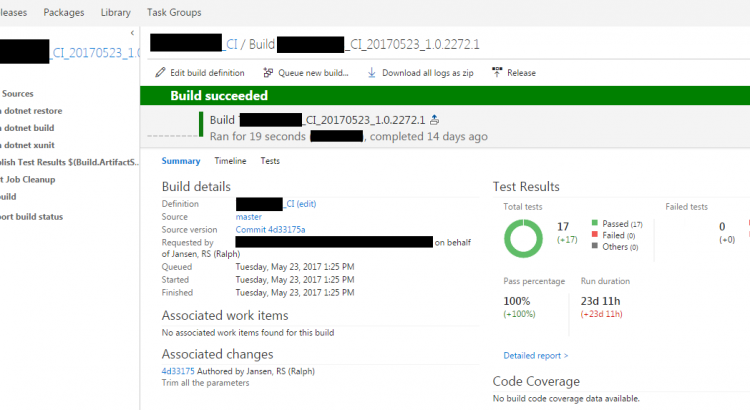
The result is:


